News
My Custom Calendar
<intro>
I'm a calendar power user. Those who glimpse my Google calendar tremble in fear at the endless staggered blocks of color and text. For years (since 2016 it looks like) I meticulously catalogued my entire life, every 15-minute interval planned and accounted for. It worked... but I was always constrained by the feeble systems comprising Google's calendar. It buckled under the 80,000's of events I had meticulously placed there. Silently failing to sync, failing to load, sometimes failing to not crash (looking at you Calendar on android).
I'd made many attempts to replace it by my own hand. But I am but one busy craftsman without the tools of an entire enterprise. I sectioned out grid paper, taped it to my wall, and attached a pencil with velcro, I wrote a terminal-based calendar, I wrote... an Android app. But I couldn't catch up to my own needs.
But a new tool was growing, the LLM. And thus my hand became a voice, guiding the output of millions of mimics to align with my vision. A new calendar was born!
</intro>
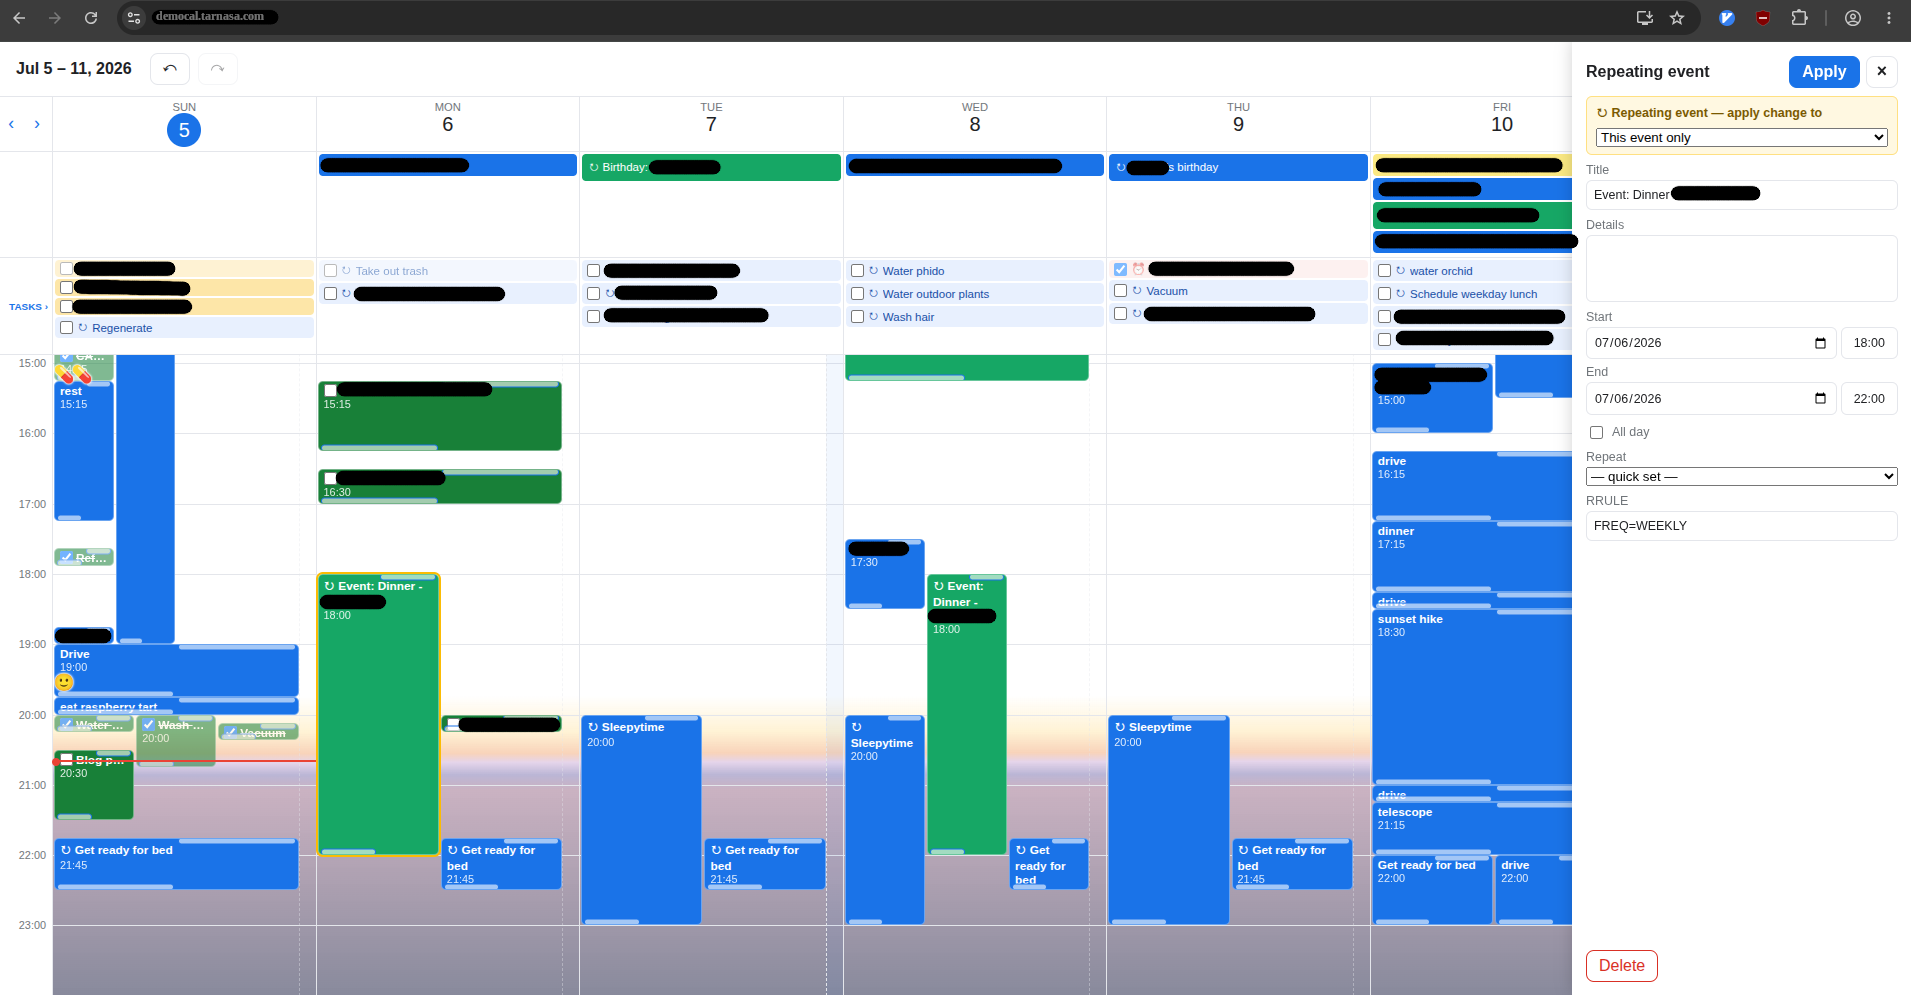
Let me show you my new calendar/planner/tracker! It's got all the things you'd expect (well, actually just the things I use) from a modern calendar app:
- Click to create events
- Recurring events
- All-day events
- Day, 3-day, week views
- Google calendar integration
- Tasks
But what I'm really proud about are the things that are different.
- INFINITE UNDO
- Runs on my own server
- Fast despite having 80,000+ events (also that is only like ~25MB on disk, so wth Google)
- Sunrise + sunset times calculated and shown as pretty gradients on each day
- Custom calendar colors
- Record your mood, meals, medications, and poops :P - and have them show up as little emojis on your calendar
- Easily modify an instance of a recurring event without going through multiple dialoges (again, wth Google)
- Search through all 80,000 events, tasks, records (Google only seems to support the last ~2 years of mine)
- Database backups, and optional local download
- Drag a task from the all-day row onto the hourly chart itself to "schedule" it
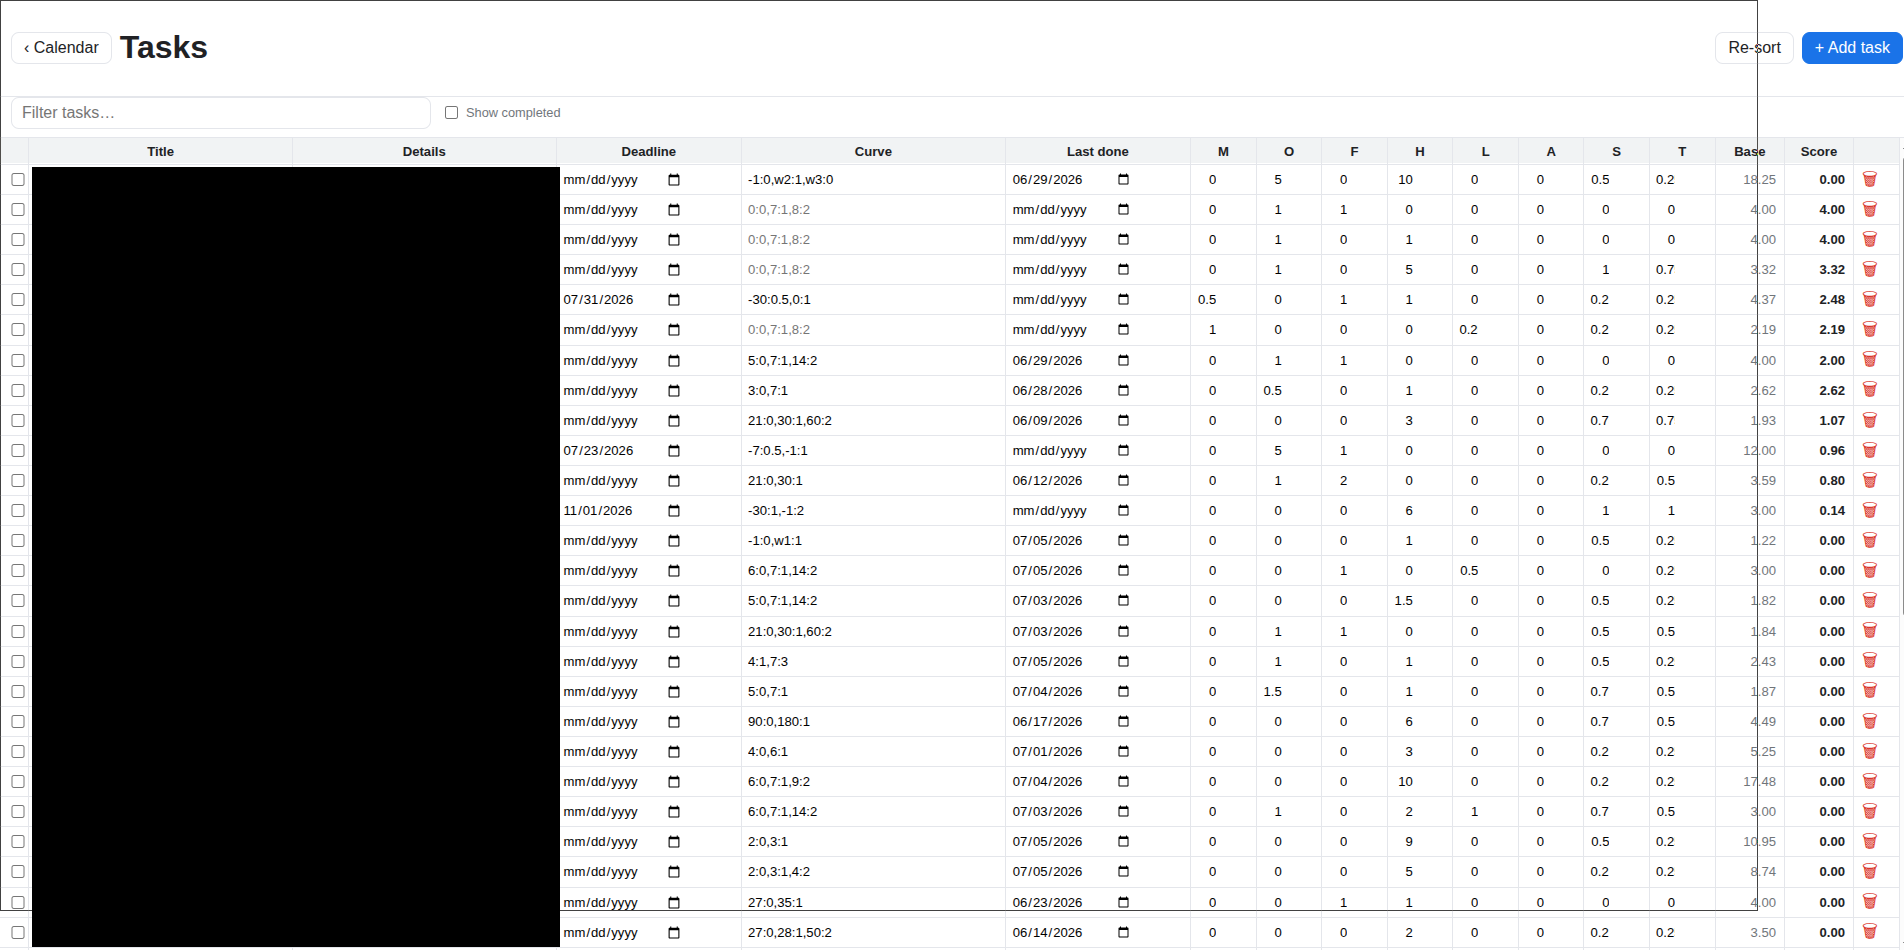
- A TASK SPREADSHEET :D:D:D:D
- !Assign importance and effort to tasks along different dimensions and have an overall priority score calculated automatically!
- !!Optional deadlines for tasks so they always show on that day!!
- !!!Optional recurrance rules for tasks!!!
- !!!!Recurrance automatically shifts schedule when task is completed early or late!!!!
- !!!!!Priority of tasks change along a per-task user-defined curve!!!!!
- !!!!!!Curve supports day-of-week and day-of-month anchors!!!!!!
- !!!!!!!Top-3 tasks by priority are shown on the current day!!!!!!! + Any with deadlines or recurrances on that day
 I don't want to make its source code public at this time. But if you find it useful, email me at tarnasa@tarnasa.com, show me your cool projects and I will share mine!
Starbound Diggles Mod
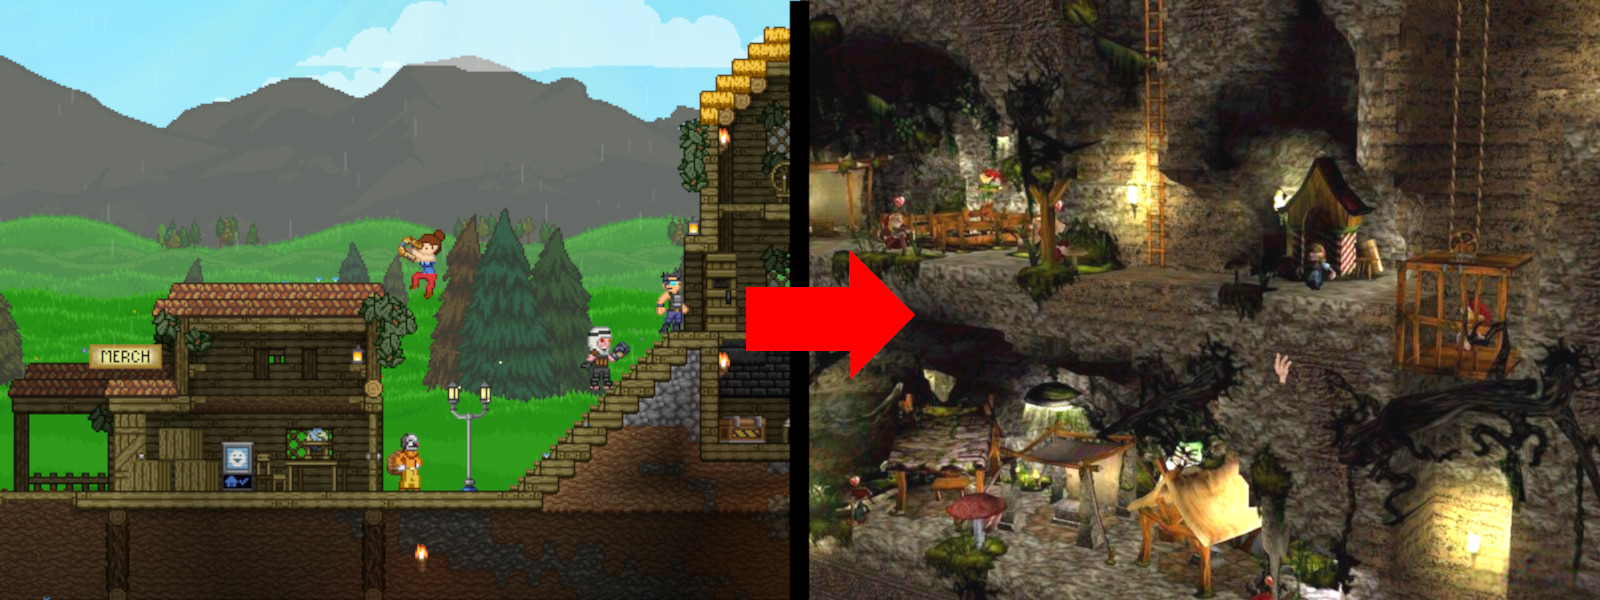
Let me introduce you to a terrible game which consumed at least a full year of my childhood. Diggles: The Myth of Fenris is a game about micro-managing a clan of dwarves with the goal of digging down to reach Odin's pet Fenris. The game has extremely slow pacing, terrible ai, and humorously bad translations (translated from German). Despite that, as a ~10 year old kid, I absolutely loved the game, and it left a big impression on me.
Fast-forward a decade or two, I'm playing Starbound, a space-themed sandbox which allows you to dig underground. The cartoonish graphics remind me of Diggles, however nothing comes of it immediately. It isn't until a few months ago, after playing some with my friends, and experimenting with making my own custom dungeons that I start learning about how to mod Starbound.
I quickly find that Starbound is an incredibly good game to mod, all the game's asset files are fairly straight-forward to understand, and use industry standard formats and tooling. For example, most starbound dungeons are created using Tiled. Configuration files are just json, and scripting is done in lua.
So I set out to recreate my childhood favorite as a mod in Starbound.
Current features:
- World-generated tunnels with wooden posts and barrels
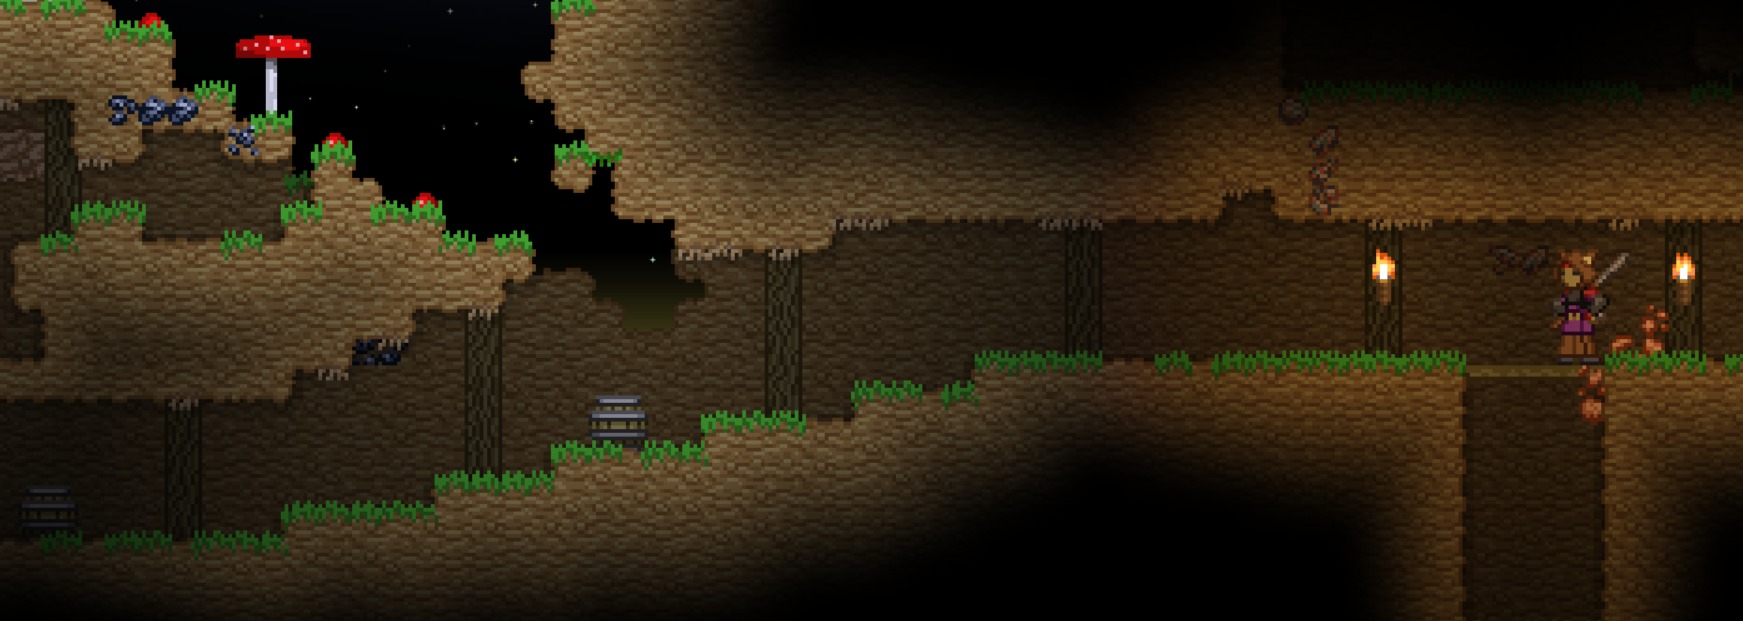
- Clansman can be given weapons
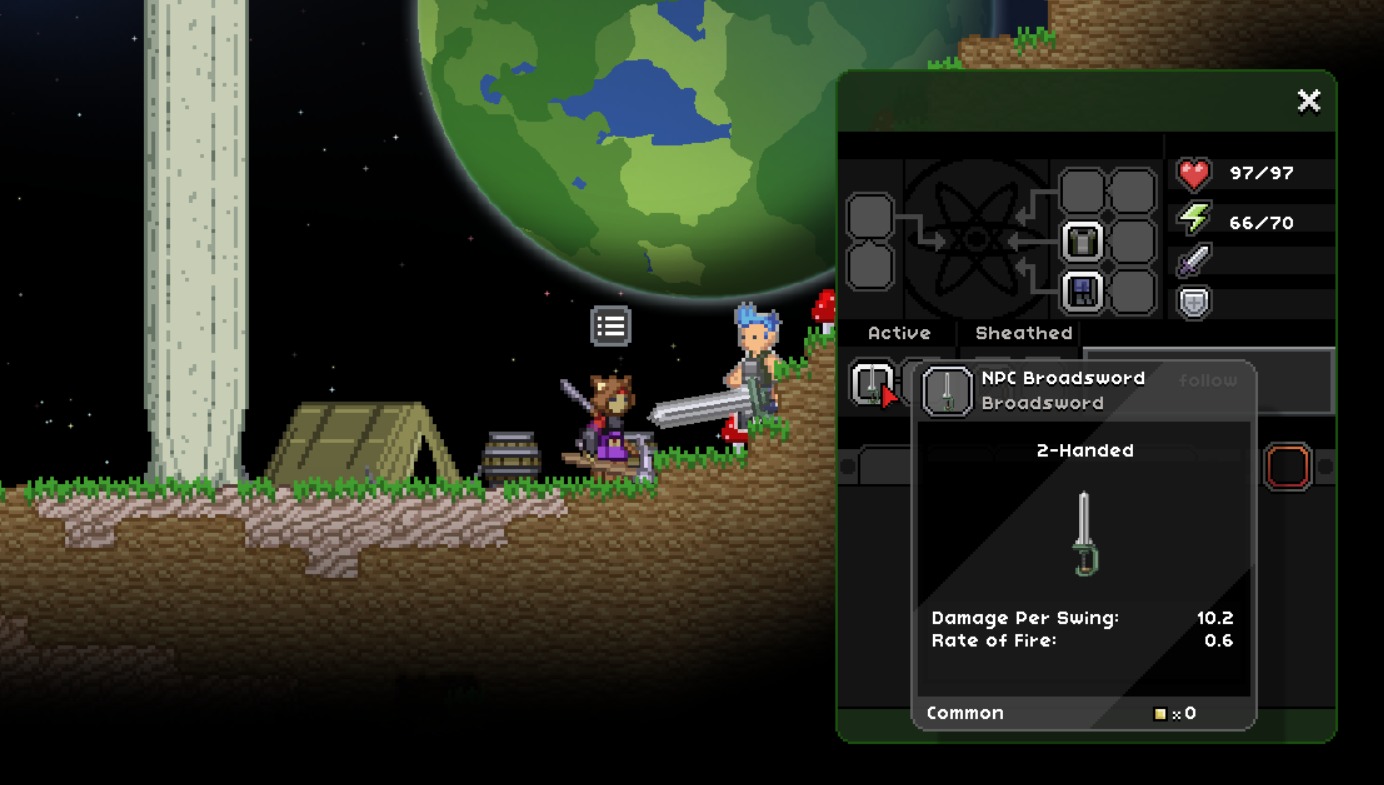
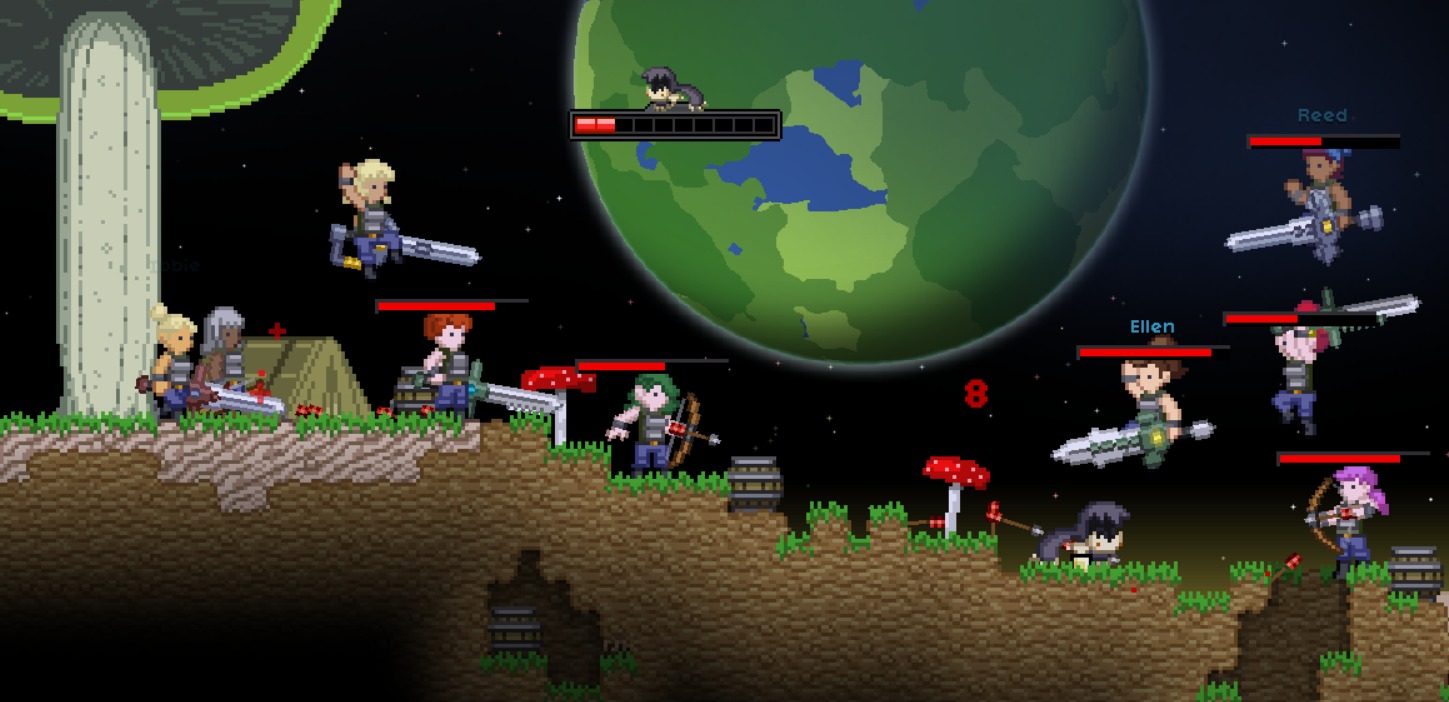
- Clansman fight, and automatically sleep to heal themselves
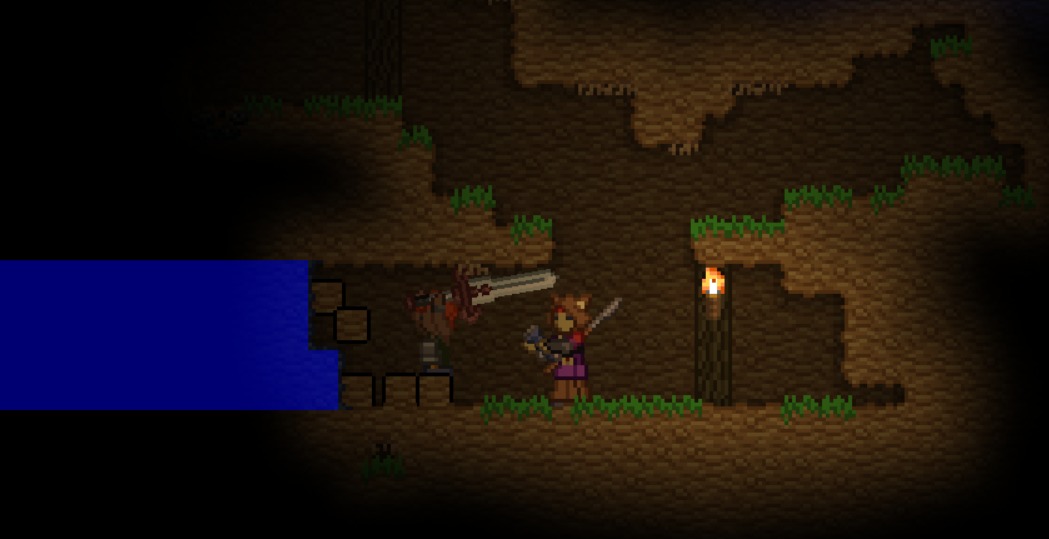
- Clansman automatically dig painted blocks
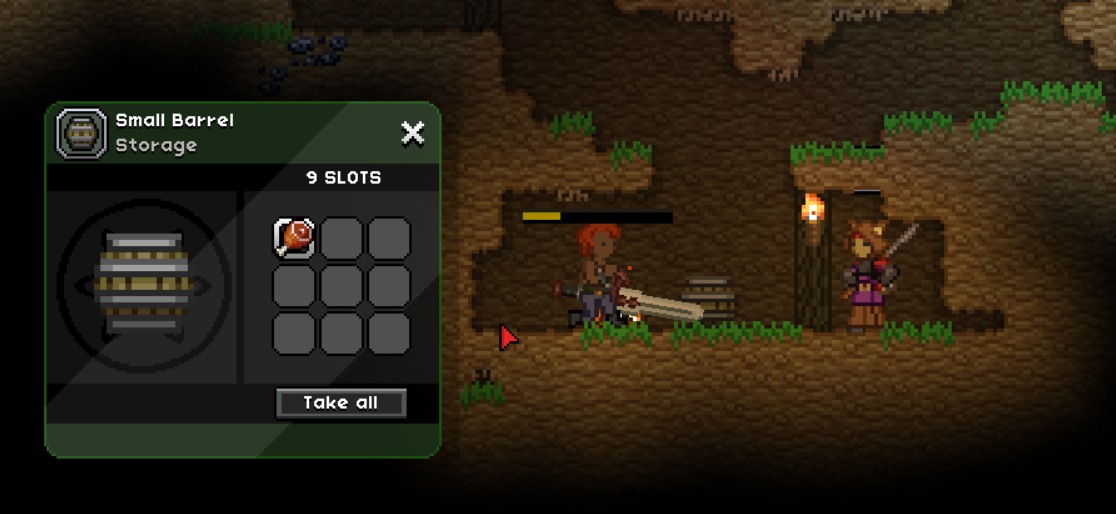
- Clansman get hungry over time, and automatically eat from nearby barrels
- Clansman breed with each other, producing babies which grow up into new clansman
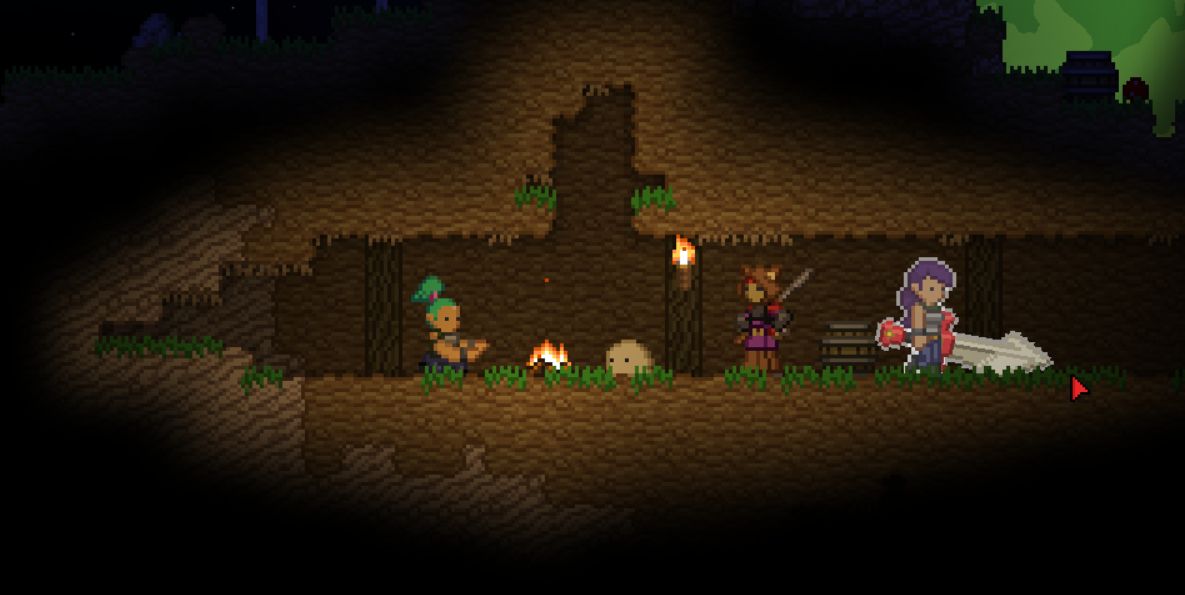
Additionally I created a python-to-json-behavior-tree converter so that I didn't have to work with the absolutely atrocious json behavior tree files.
All this can be downloaded here.
Attack And Defense
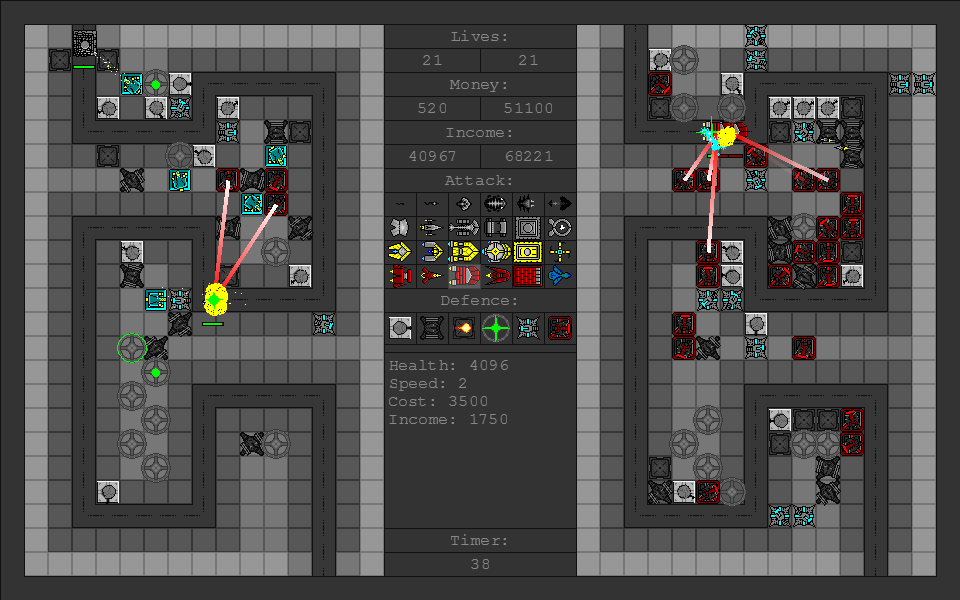
After giving up on Terath, I started on another 2-player game. I had been playing Starcraft: Brood War a lot those days, especially the custom maps. There was a particular map called "Income D" which was a 2-team tower defense game where you got income by sending units down your opponents path. I basically recreated this custom starcraft map as a standalone game, it even has glitchy network support! You can download the game, "Attack and Defense" and it's source files below. (note the source file requires a copy of GameMaker 7 to run)
A help file can be found in-game by pressing F1
In case you are not familiar with tower defense games, the objective is usually to survive multiple waves of enemies which follow a path. If the enemies manage to reach the endpoint then you lose a life, lose all your lives and you die.
You kill these enemies by placing stationary "towers" which can attack the units. These turrets cost money which usually is earned by killing enemies. But in this version money is earned by sending units down your opponent's path.
This game has a rudimentary AI, support for 2-player couch-coop, and basic networking support.
ps. there are cheat codes hidden in the help file
Terath
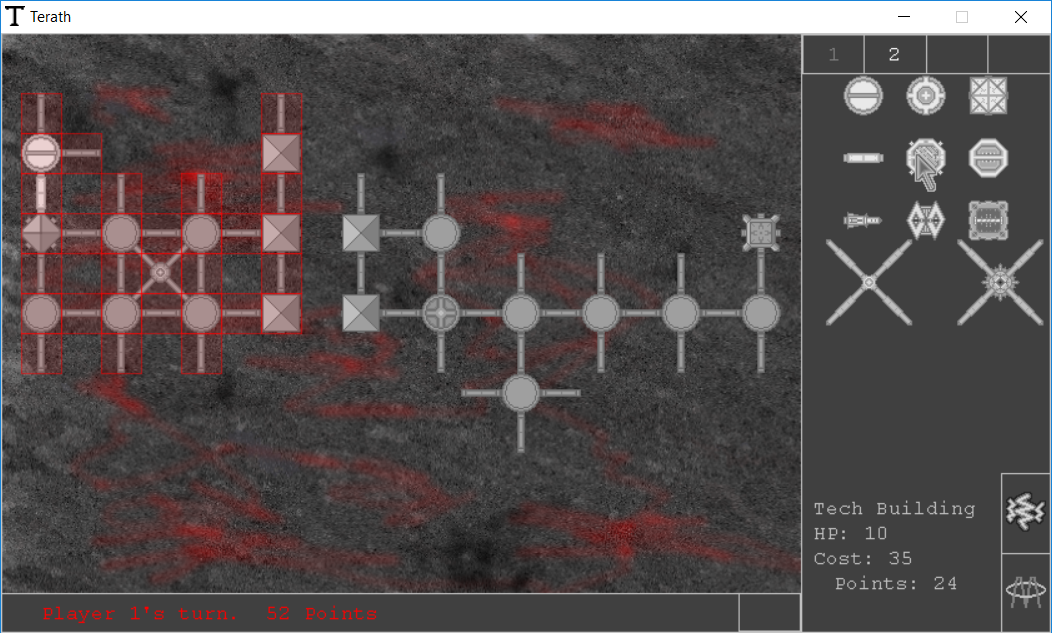
Around 2008 I was really on a game-making spree. One my first "complete" games to come out of this was a turn-based base-expansion game called Terath.
A help file can be found in-game by pressing F1, though I'll give a quick summary here:
The objective of the game is to destroy all of your opponents pieces.
Each player starts the game with a small "base" consisting of a few pieces
Players take turns spending points on more pieces. Pieces must be attached to other friendly pieces. Some kinds of pieces generate points. Points usually do not carry to the next round.
There 7 main types of pieces:
- Circle - Acts as a hub for bars, can be upgraded into other pieces.
- Bar - Generates points each turn.
- Cross - Placed between four circles, generates many points, some versions can shoot.
- Cannon - Fires a projectile in a single direction.
- Healer - Heals nearby pieces. Upgraded from the circle.
- Block - High hitpoints, cannot place other pieces on top of a block.
- Tech - Allows for the purchase of next-tier pieces
Most of the heavy-hitting weapons are only available at higher tech-levels. Each new tech level costs considerably more than the previous but have more health, generate more points, and look cooler.
Pieces can be placed on top of other pieces, (but not on top of a block). This means that players can stomp all over their opponent's base if they so choose.
I never got around to creating an AI, so you will have to find a friend to play against!
Hardware Keyboard Remapping
Ever since using vim and vimperator, I've gotten used to mapping the Caps Lock key to act like another Left Control key. In windows I did this by setting the registry key
HKEY_LOCAL_MACHINE\SYSTEM\CurrentControlSet\Control\Keyboard Layout\Scancode MapTo the following binary value
                00 00 00 00 00 00 00 00
                02 00 00 00 58 00 3A 00
                00 00 00 00
.
In Arch Linux I would use this .Xmodmap file:
                clear lock
                clear control
                keycode 66 = Control_L
                add control = Control_L Control_R
.
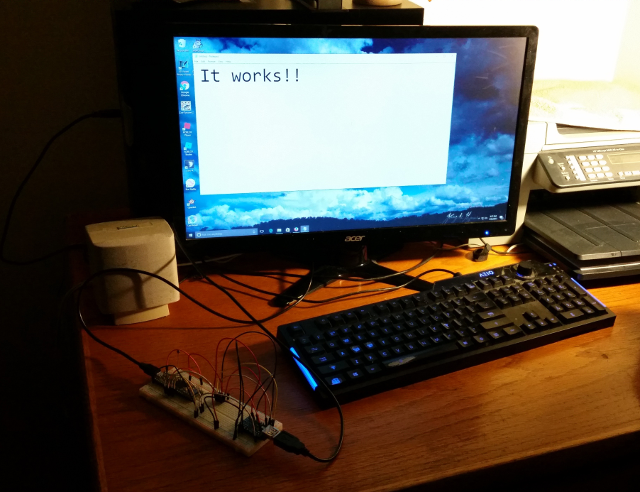
When I switched between computers often, these configuration changes became impossible, the windows change even required me to have administrator access. This is when I had the idea for a hardware-based key remapper. A device that sits between a USB keyboard and a computer, intercepts the keystrokes, and remaps them before they even hit the computer, no more configuring every computer I work at, and I could take this device with me everywhere I go.
Well I finally got around to making it. Here are the components I used:
- Teensy 3.6
- DuinoFun mini USB Host Shield
The USB Host Shield allows the device to act as a "USB Host" just like
your computer acts as a USB host to your mouse, keyboard, and whatever other
"USB Device"s you may have.
When I started the project, I intended to use a circuits@home version of
the mini USB Host Shield, but I couldn't find a place to buy them ANYWHERE
and the original shop's site was broken.
So I had to settle with the DuinoFun version,
which I could find zero documentation for, except for a
single project
where someone else had used it.
So a week later and my chip came in from China.
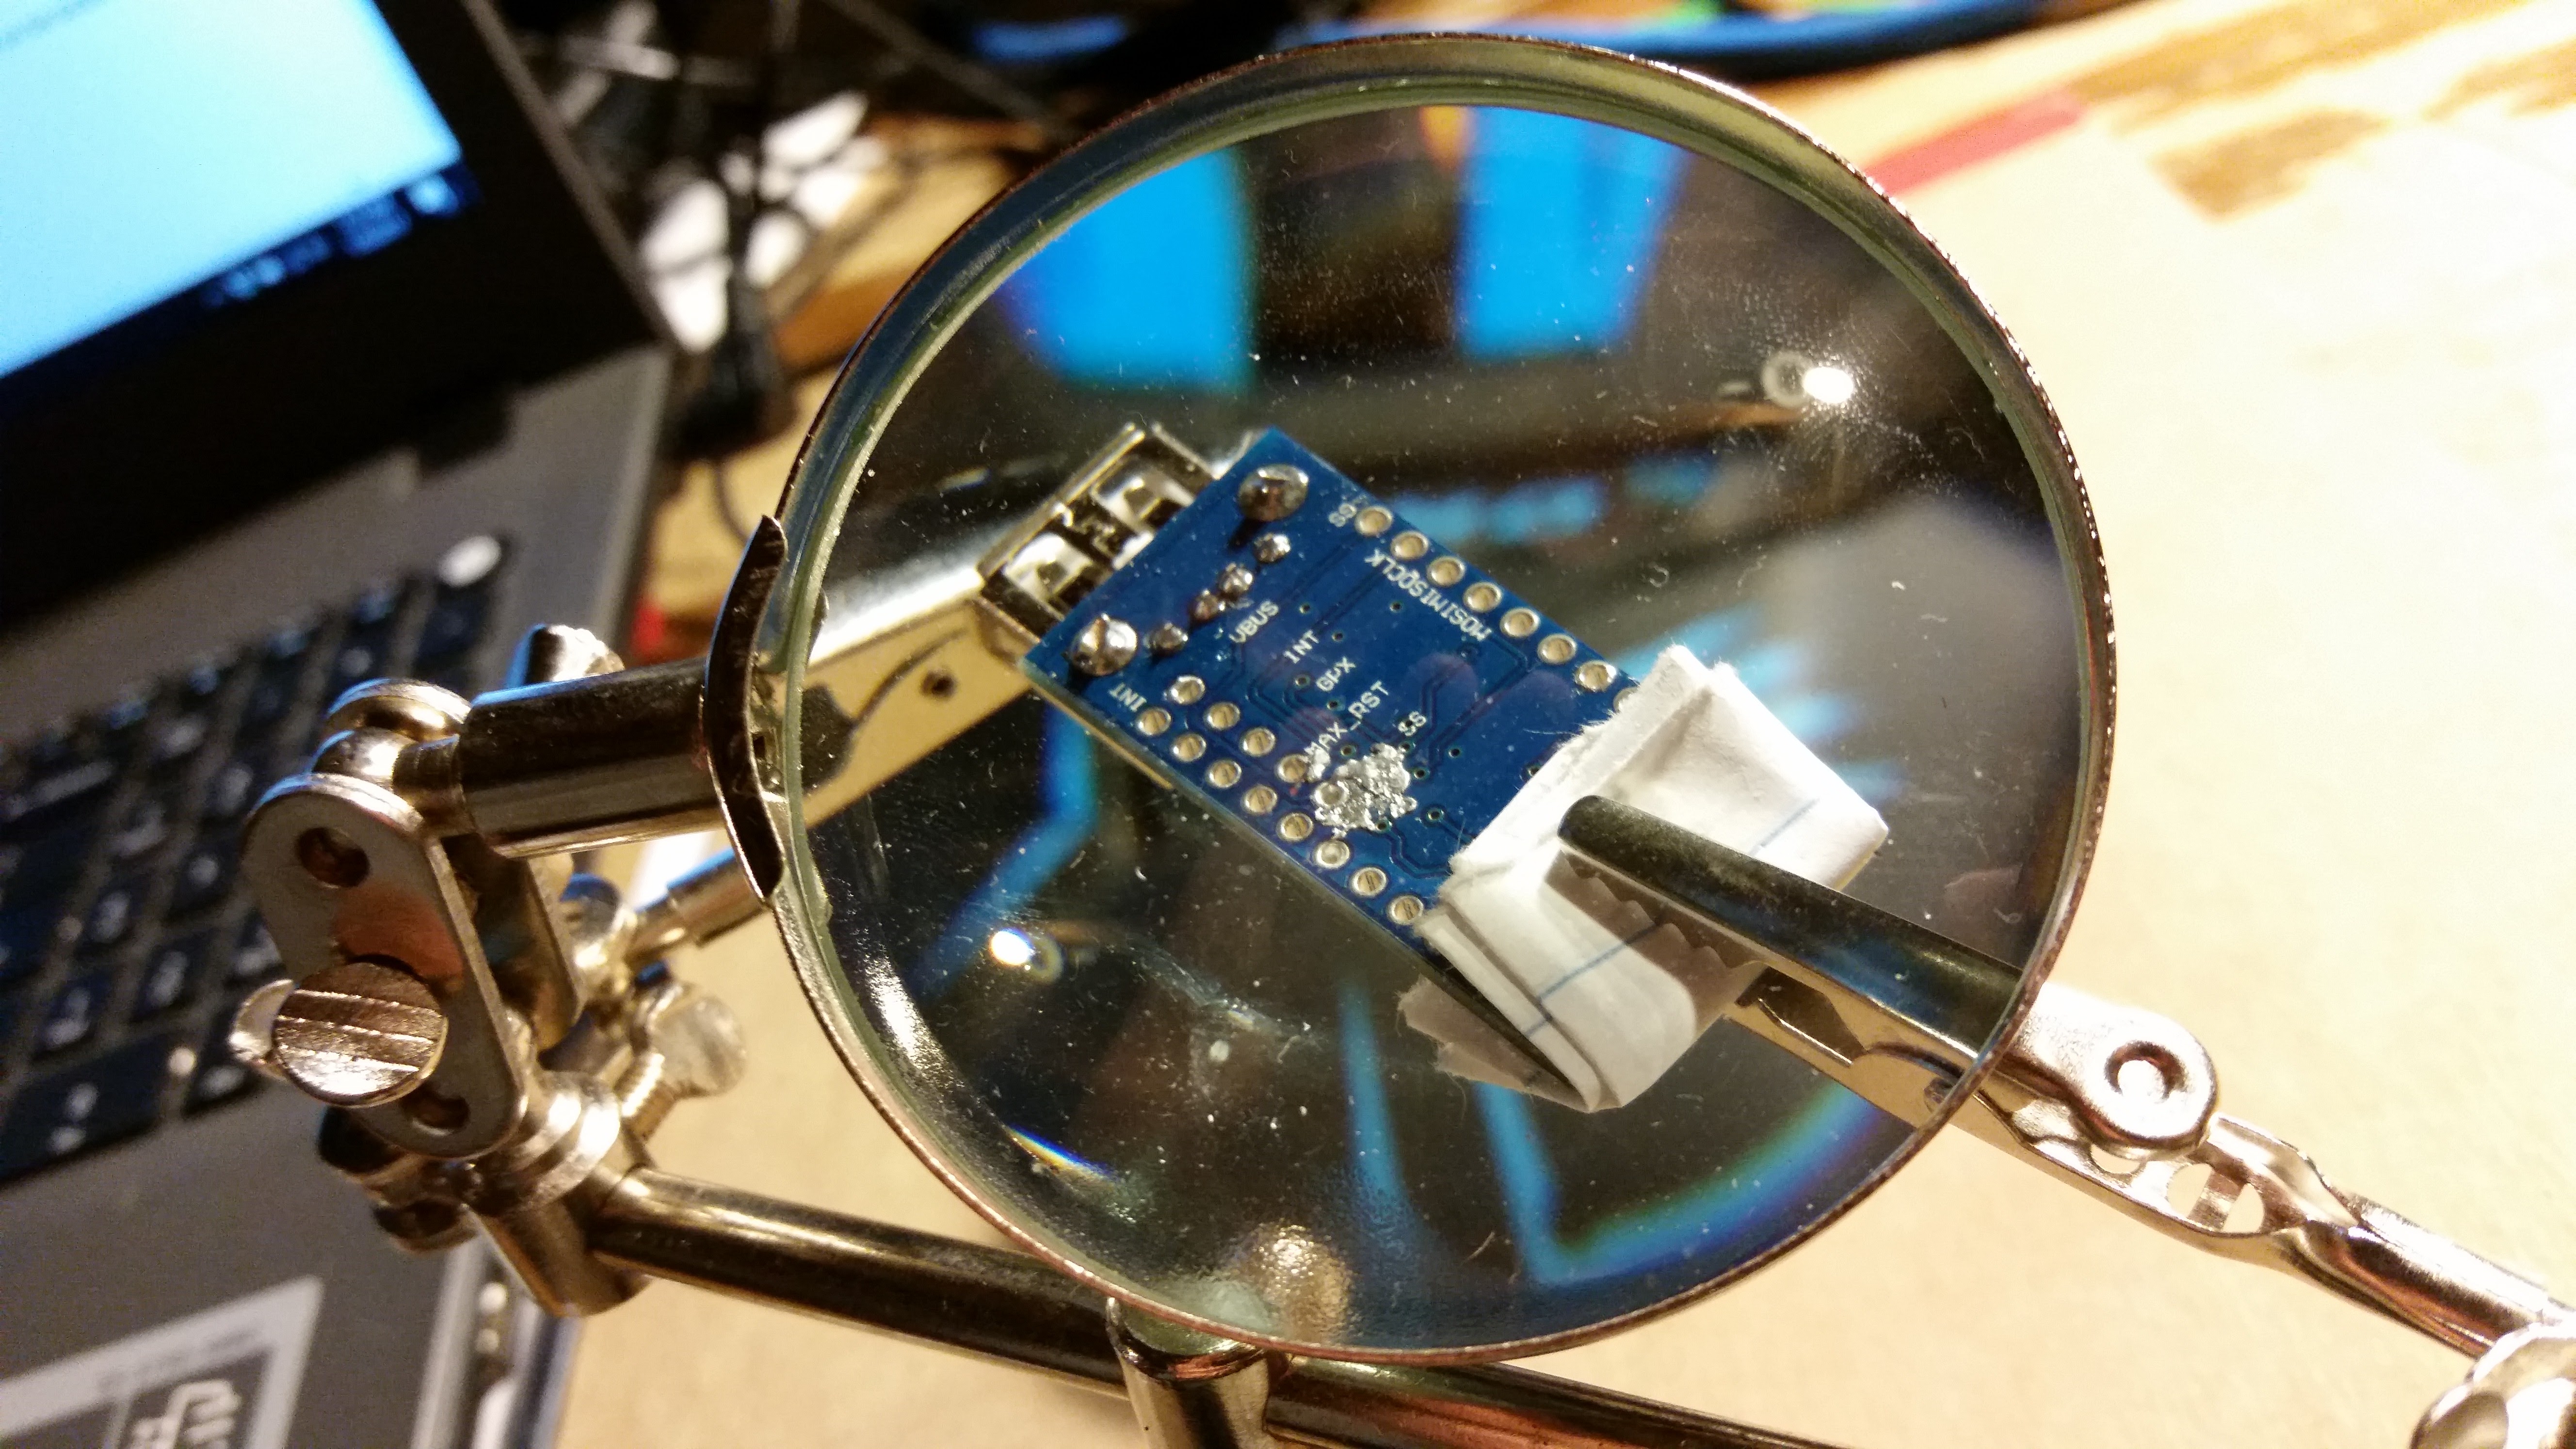
I had bought a Teensy 2.0 to go along with it (Because of
PJRC's USBHS article
) Unfortunately I had completely missed the part about needing a MCP1825S-3302E/DB
to convert the Teensy 2.0 to run at 3.3V. And without quick access to one
of those, I decided to test the USBHS with an Arduino Uno I had won a few years
back.
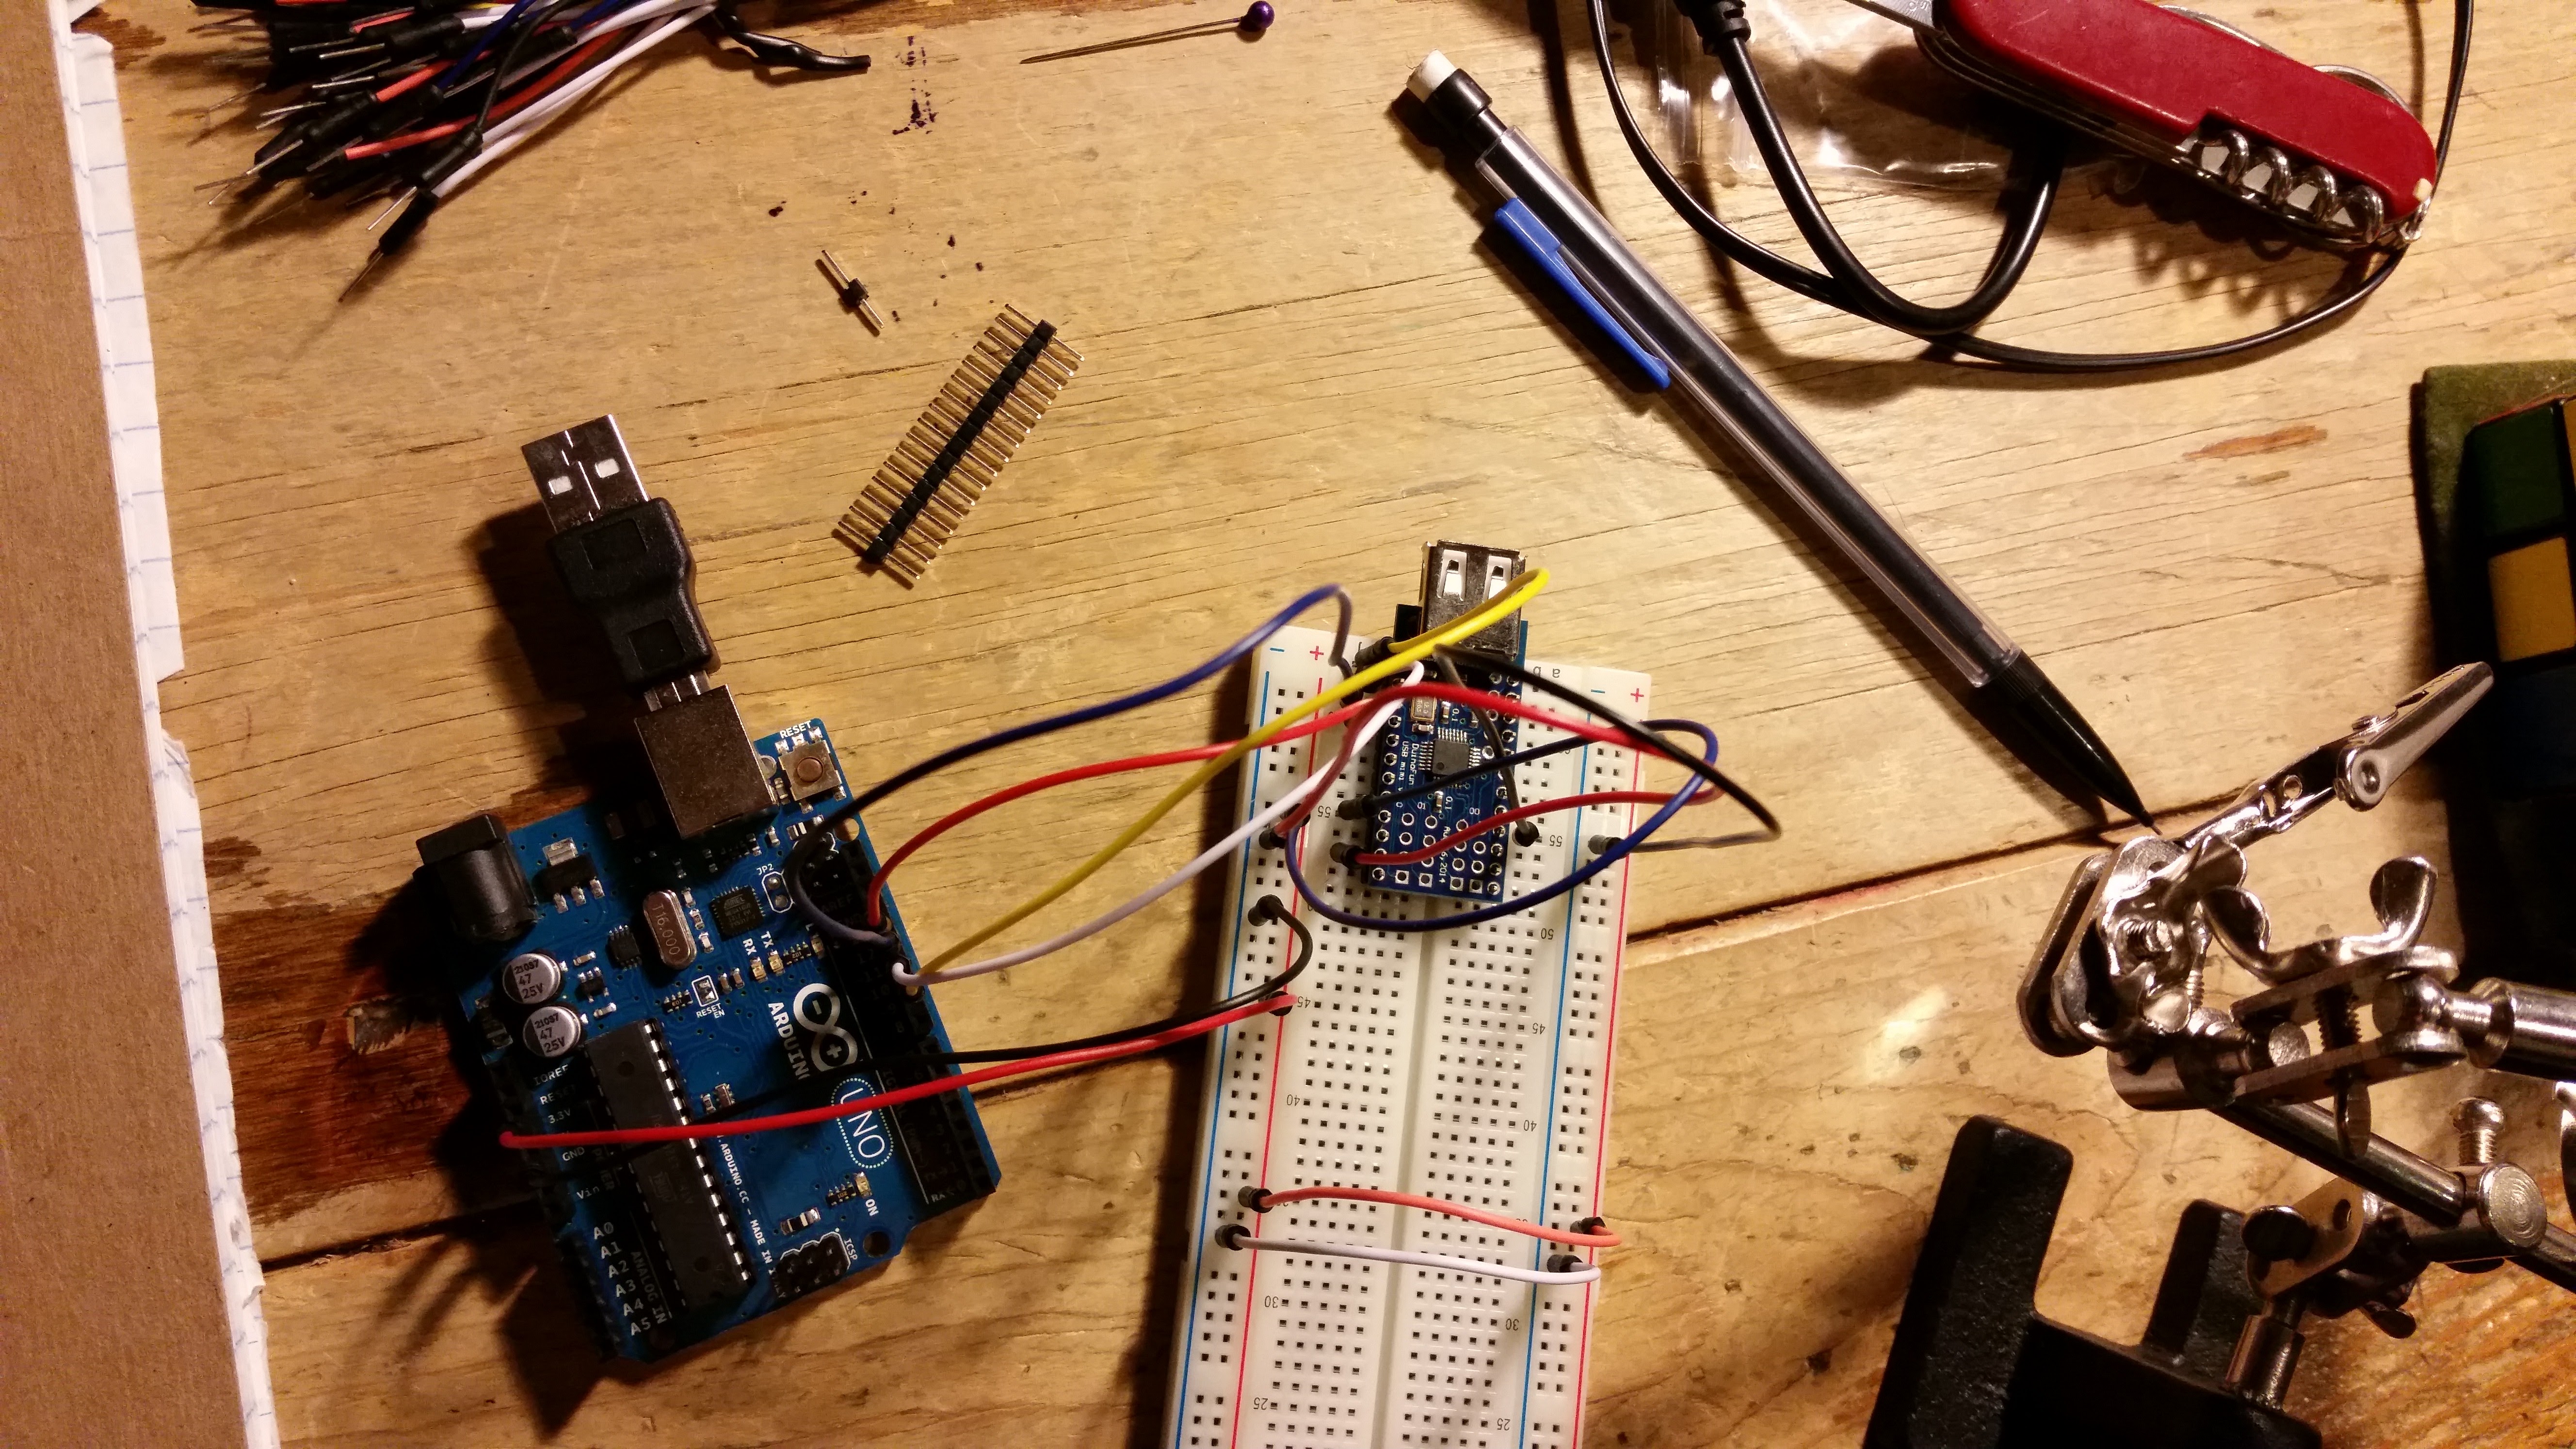
So I wired it up to the Uno according to
Arduino's USBHS page
and the USBHS pins shown on
PJRC's USBHS article
and hoped that everything would just work.
Fired up Arduino IDE and installed the USBHostShield 2.0 library
and tried to run the included board_qc sketch meant to test
the USBHS.
Unfortunately this failed many times, it wasn't until hours later
of replugging everything in and browsing forums that it just magically
worked out of the blue. Nevertheless it is was not reproducable,
and I figured the Uno was just too old to work well with the newer hardware.
I needed a board capable of acting as a USB Device (Specifically a keyboard) to the computer. I whent back to the store and bought a Teensy 3.6 which already runs at 3.3V (as opposed to the Teensy 2.0 and Uno). Connecting the Teensy 3.6 to the USBHS according to this article worked perfectly, except that the USHS could only handle low-power USB devices, like old flash drives, but not a backlit USB keyboard. I knew that in the current configuration, the USBS could only provide 3.3V to the USB device, however, most USB devices expect 5V, therefore I needed to route the 5V from the computer going into the Teensy to the USBHS and then to the USB Device. To do this, I connected the VIN of the Teensy 3.6 to the VBUS pad on the USBHS and cut the jumper running from the VBUS pad to the USBHS as shown below.
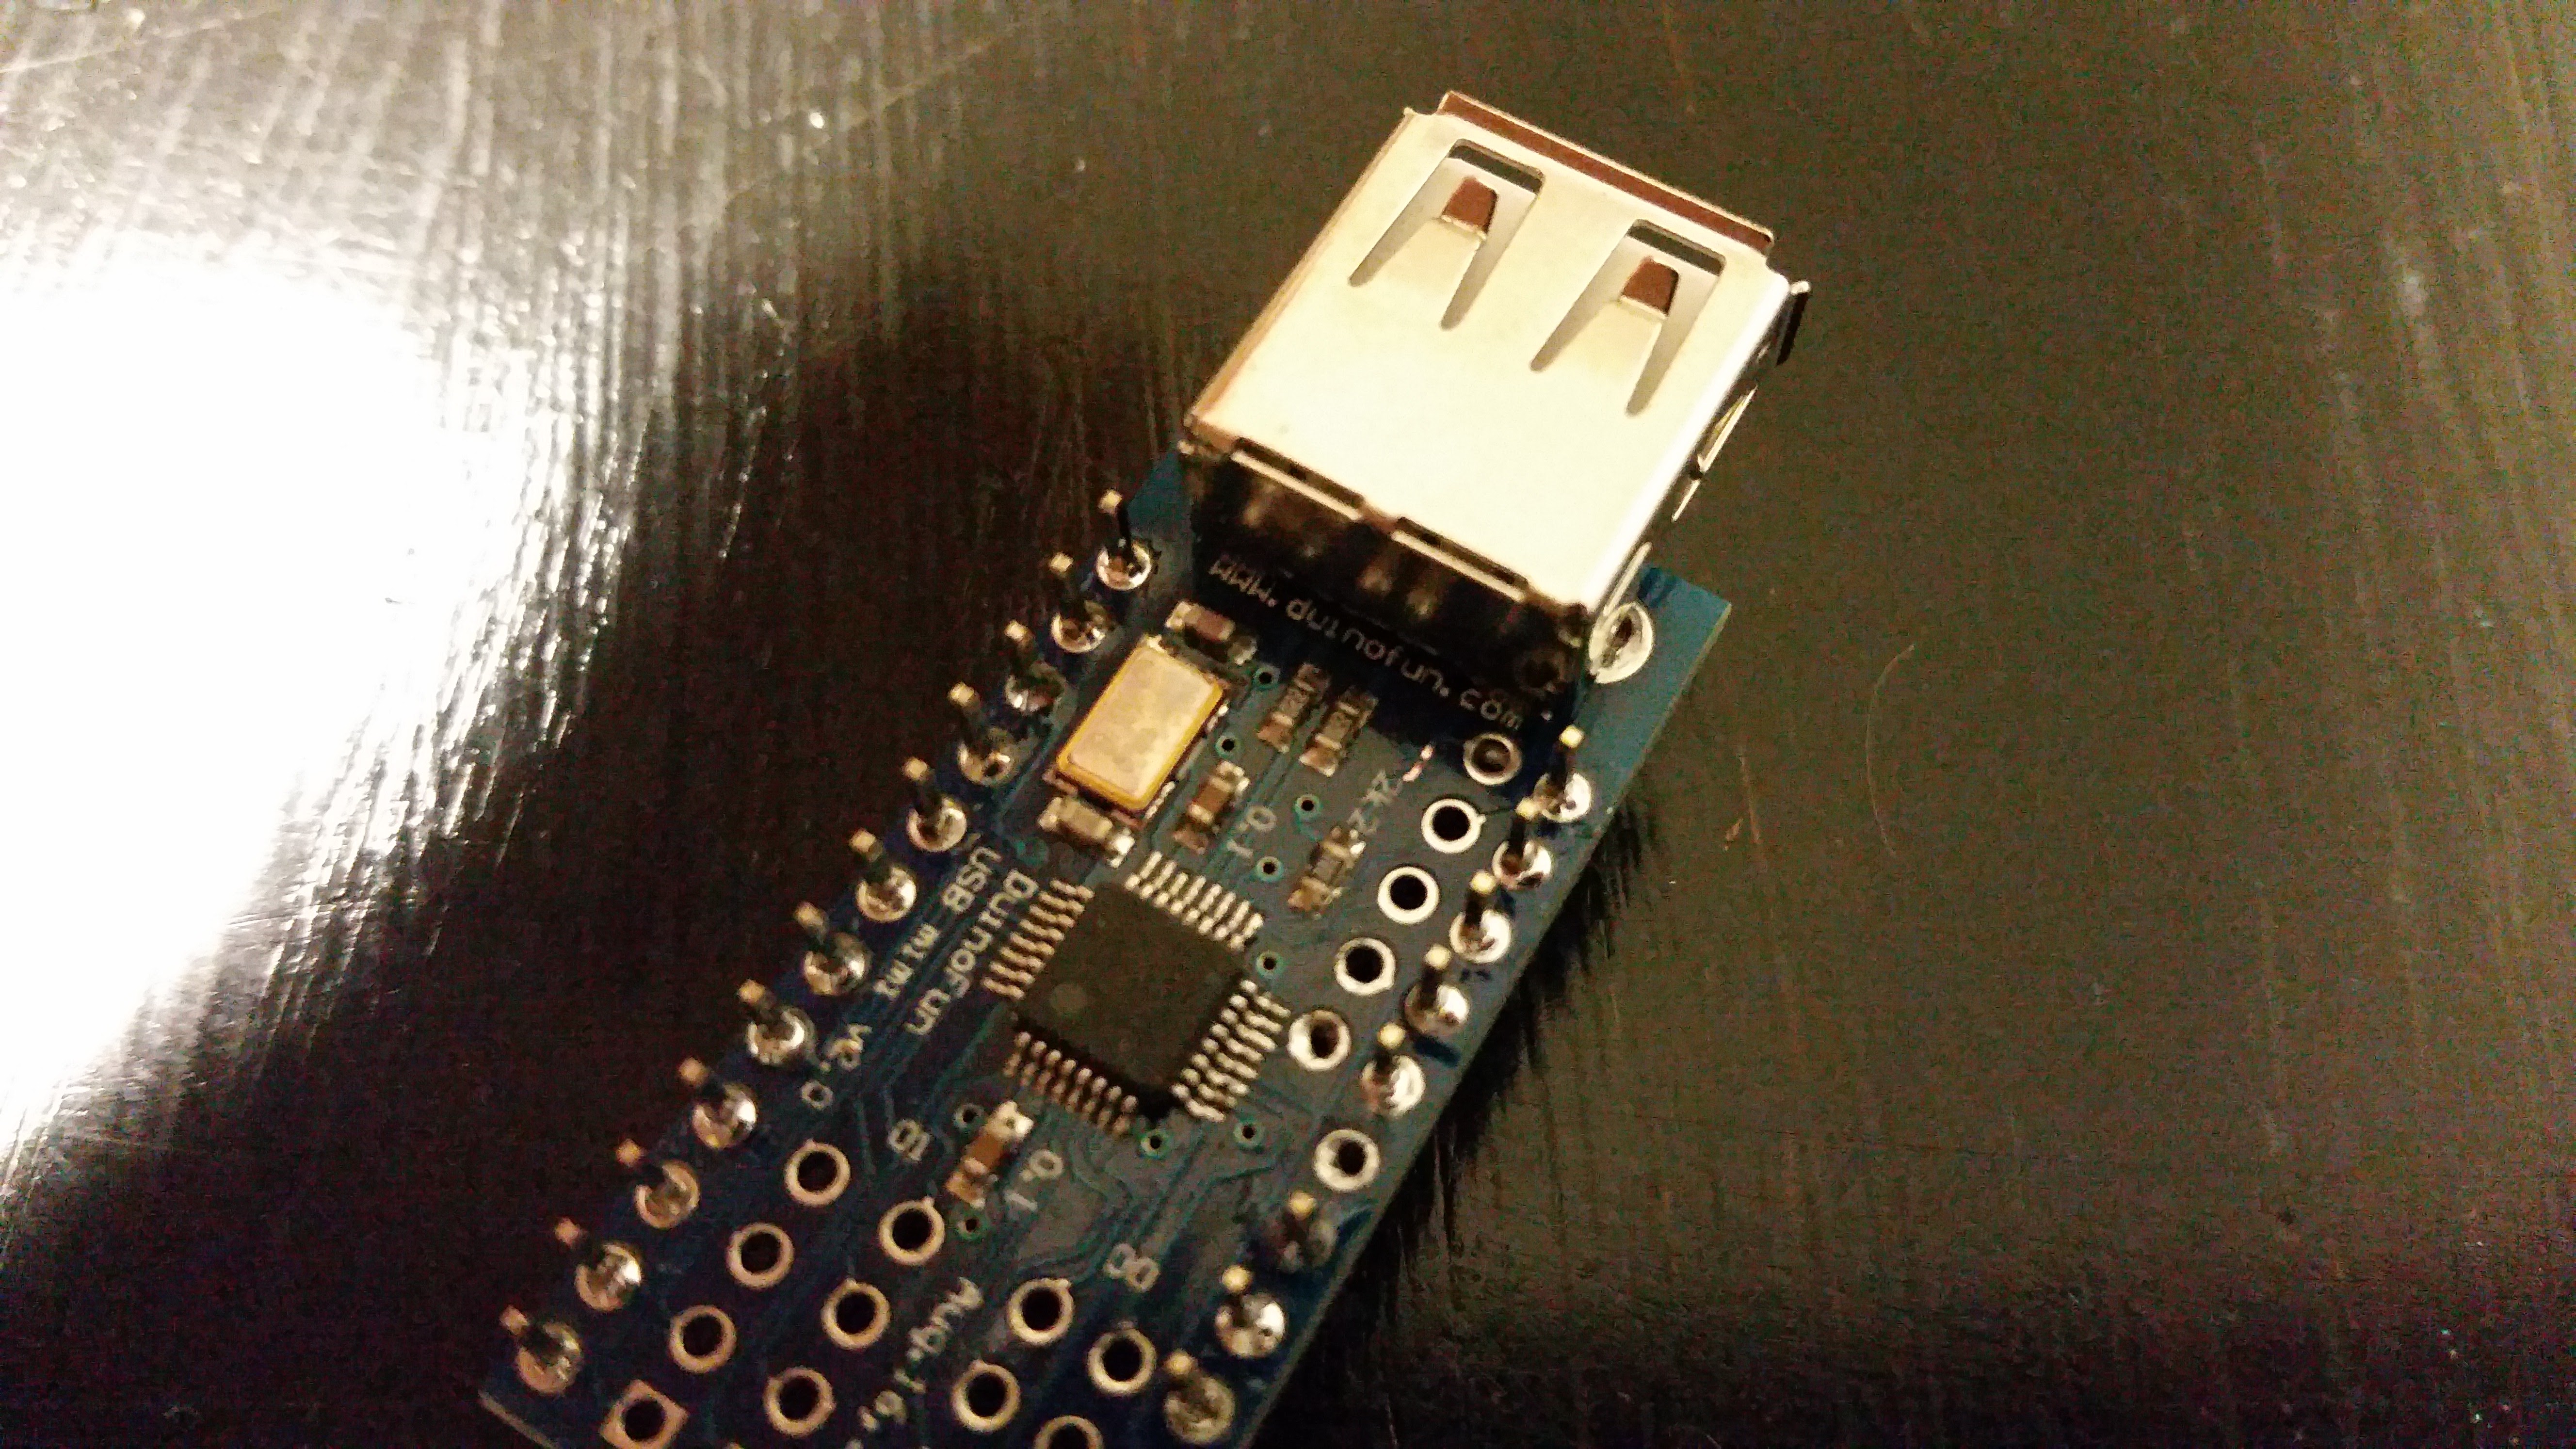
Now, the board worked perfectly, all that was left was to code up the sketch to grab the keystrokes coming from the keyboard, possibly modify them, and send them onto the computer.
The USB Host Shield library v2.0 did not work out of the box with the Teensy 3.6, I had to modify the config files to get them to recognize it's id (and treat it therefore like a Teensy 3.0).
TODO TODO TODO TODOUSB Keyboard send their state to the USB Host as a wrapped packet containing 2 to 8 bytes.
                struct MODIFIERKEYS {
                        uint8_t bmLeftCtrl : 1;
                        uint8_t bmLeftShift : 1;
                        uint8_t bmLeftAlt : 1;
                        uint8_t bmLeftGUI : 1;
                        uint8_t bmRightCtrl : 1;
                        uint8_t bmRightShift : 1;
                        uint8_t bmRightAlt : 1;
                        uint8_t bmRightGUI : 1;
                };
The next byte is a reserved field, usually zero.
The following 0 to 6 bytes (integers in 0-255) indicate which keys are
being held down.
Therefore all I have to do is intercept calls with a 0x14 key (Caps Lock),
set bit 0 of the first byte, and remove the 0x14 key from being sent to the host.
and then do similar when the key is released.
I can think of many other interesting uses for this USB keyboard passthrough device. For example:
- Switch keyboard layouts (DVORAK to QWERTY) by pressing some key combination.
- Keyboard macros which are undetectable from software. (Cheat detection systems could not detect it by scanning the system)
- Changing your typing rhythm to avoid biometric detection (see https://github.com/leoneckert/deceit-board)
- Keylogger (Add a micro SD to the Teensy 3.6
To make your own, the two boards will cost you $30 for the Teensy 3.6 and around $10 for the USBHS. However, it looks as though this could be done with a Teensy LC board (only $10) instead of the 3.6. Granted, the entire project may cost you alot more in tools (Soldering iron) and wires if you don't already have them.